
⚡ If you’re looking for a super lightweight, performance-boosted, and privacy-focused version of Windows 10, then Windows 10 Lite or Windows X-Lite Optimum 10 Classic might be exactly what you need. Ideal for low-end PCs, gamers, and power users, this custom OS strips away bloatware and unnecessary background processes to deliver speed, stability, and simplicity.
In this guide, I’ll walk you through the full installation process of Windows 10 X-Lite Optimum 10 Classic. 🛠️
📝 What is Windows X-Lite Optimum 10 Classic?
Windows X-Lite Optimum 10 Classic is a de-bloated, performance-optimized Windows 10 build created by third-party modders. It’s based on Windows 10 Pro and is fine-tuned to use fewer resources, offering:
- 🚀 Faster boot times
- 🧠 Lower RAM and CPU usage
- 🔒 Enhanced privacy (telemetry disabled)
- 💻 Better performance on older or low-end PCs
- 🎮 Improved gaming performance
⚠️ Disclaimer: X-Lite versions are unofficial. Use at your own risk. Always back up your data before installing.
💻 System Requirements
While this OS is light, make sure your system meets the minimum requirements:
| Component | Minimum Requirement |
|---|---|
| CPU | 1 GHz or faster (x64) |
| RAM | 2 GB (4 GB recommended) |
| Storage | 10 GB or more |
| Graphics | DirectX 9 or later |
| USB Drive | 8 GB minimum |
✅ Download Windows X-Lite Optimum 10 Classic
This version is part of the X-Lite Project, known for crafting highly optimized Windows builds that remove telemetry, Cortana, OneDrive, Xbox services, and other resource-hogging components — all while maintaining core system stability and compatibility.
🛠️ Creating a Bootable USB Drive
To install X-Lite, you’ll need to create a bootable USB drive.
Tools You’ll Need:
- ✅ Rufus (Free bootable USB creator)
- ✅ 8 GB+ USB flash drive
Steps:
- Plug in the USB drive
- Open Rufus
- Under Device, select your USB drive
- Under Boot selection, choose the downloaded ISO
- Choose Partition Scheme: MBR or GPT depending on your system
- File System: NTFS
- Click Start and wait for it to complete
🔧 BIOS Setup & Booting
- Turn On your PC.
- Enter and Press the Boot Menu key (Usually
F1,F2,F12,Del, orEsc) - Select the USB drive for first boot.
- Save and Exit.
- X-Lite setup will launch
🧩 Installation Process
- 🗺️ Language/Keyboard Selection: Choose your preferred language and layout.
- 🖱️ Select Windows X-Lite Optimum 10 Classic with Defender Off or Defender On
- 📁 Choose Custom: Install Windows only (advanced)
- 💾 Delete and create New for existing partition or select an empty one to clean install
- Click Next to begin installation
⏳ First Boot & Setup
- PC will restart automatically a few times
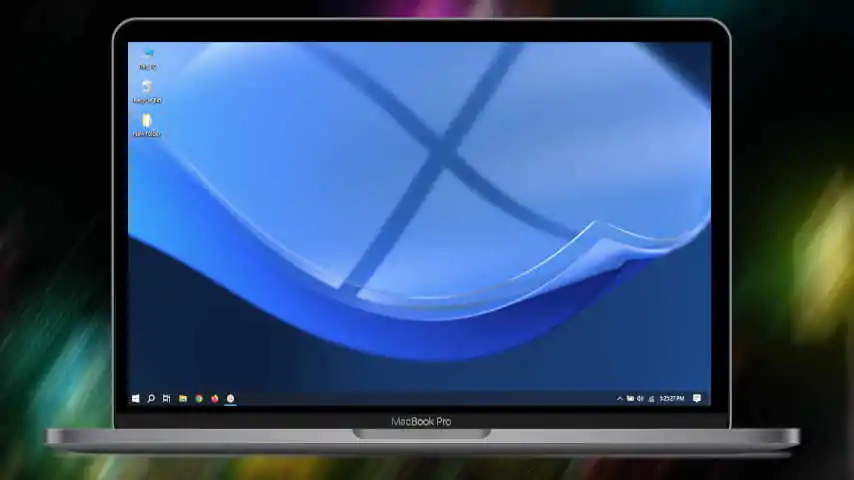
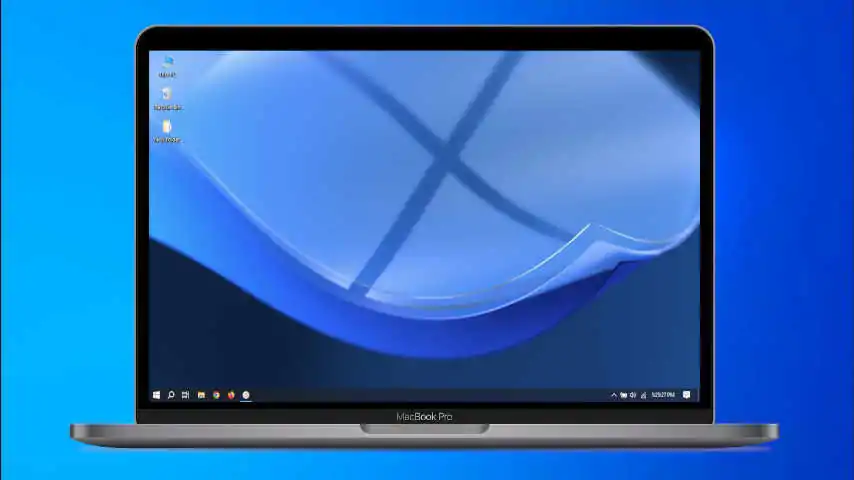
- Once on desktop, you’ll notice:
- 🔋 Low RAM/CPU usage
- 🧼 Clean UI with minimal pre-installed apps
- ⚙️ Control Panel and classic features intact
🛡️ Post-Installation Checklist
✅ Install Drivers and apps:
- Use Driver Booster or visit the official manufacturer’s site
✅ Enable Windows Defender (if needed)
✅ Install Essential Apps: - Browsers: Chrome, Firefox, Brave, etc
- Utilities: 7-Zip, VLC, Notepad++, etc.
🌟 Why Choose X-Lite Optimum 10 Classic?
| Feature | Benefit |
|---|---|
| No Bloatware | Faster and cleaner experience |
| Reduced Services | Less RAM and CPU usage |
| Game Mode Tweaks | Higher FPS and stability |
| Enhanced Privacy | Telemetry and tracking removed |
| Classic Feel | Familiar Windows 10 layout |
🧠 Final Thoughts
Installing Windows 10 X-Lite Optimum 10 Classic is a great way to revive old hardware or supercharge your current setup. Whether you’re a gamer, developer, or casual user, this optimized version brings speed, simplicity, and power in one sleek package. ⚡
@mainthebest.com
 Windows 10 Lite (Optimum 10 Classic)
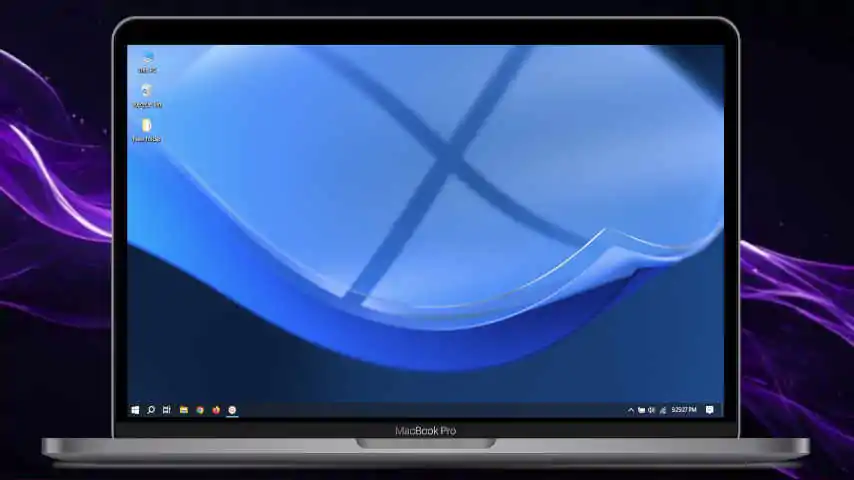 Windows 10 Lite (Optimum 10 Classic) 🖥️
 Windows 10 Lite, The Ultimate Lightweight OS 🖥️